Adaptive Cards explained
Adaptive Cards are actionable message cards that are adaptive depending on user interaction. Adaptive Cards can be used in different Microsoft 365 applications such as Outlook, Teams, Bots etc. but maintaining a native look and feel to the application they appear in. Whilst this post is centred around Microsoft Teams, one great feature about Adaptive Cards is that any card created can be re-used, no matter what application, within another application that supports adaptive cards.
Note: Whilst there is no real coding involved with Adaptive Cards, it is instead defining a card with JSON and you will at least need to be familiar with JSON.
For more information on what Adaptive Cards are, I recommend you check out the Microsoft Docs section here.
Adaptive Card schema
As mentioned previously, there is no coding or scripting but rather declaring how you want your card to look and behave. Typically, your card will consist of the following parts:
- Properties – type, version, schema etc. (only type and version are required)
- Body – the body of the card – text, images, inputs etc.
- Actions – the actions at the bottom of the card that a user can interact with
The purpose of this post is not to explain here all the possibilities of the schema, but a full breakdown of the schema can be found here.
Note: There are different versions of Adaptive Cards, so, for example, if you plan to use a property available in version 1.2 you need to ensure you specify “1.2” in the version property. As of Feb 2020, Teams supports up to version 1.2.
An example Adaptive Card
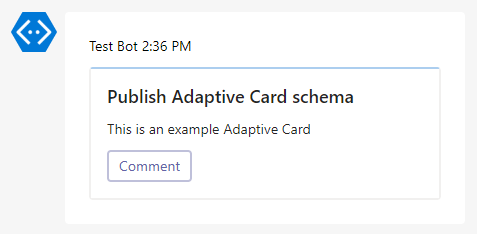
Before we create our own card, here is very basic schema of a card:
As you can see it has properties, a body and actions. The card itself would look something like this (in Teams):
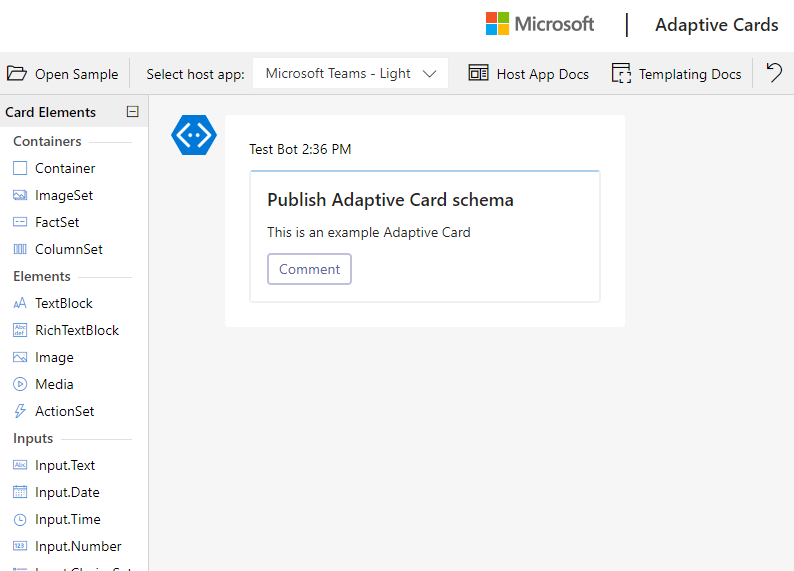
Thankfully, you don’t have the create the whole card just using JSON and a text editor. Microsoft have created a tool called Adaptive Card designer, allowing you to visualise your card whilst creating it:
Designing your Adaptive Card
Using the designer, we are now going to create an Adaptive Card. In this example, the Adaptive Card will post new tweets in to my Teams client that mention my handle @lee_ford. At this stage, we don’t need to worry how it will work, we are just interested in designing the Adaptive Card that will be shown as a result.

This Adaptive Card is just a basic example for this blog post, Adaptive Cards are very customisable and your own can look and behave completely different to this.
Using the designer
Firstly, go to the designer at https://adaptivecards.io/designer/ and select Open Sample - I’ve chosen Activity update. With that loaded, lets go over the basics of the designer.
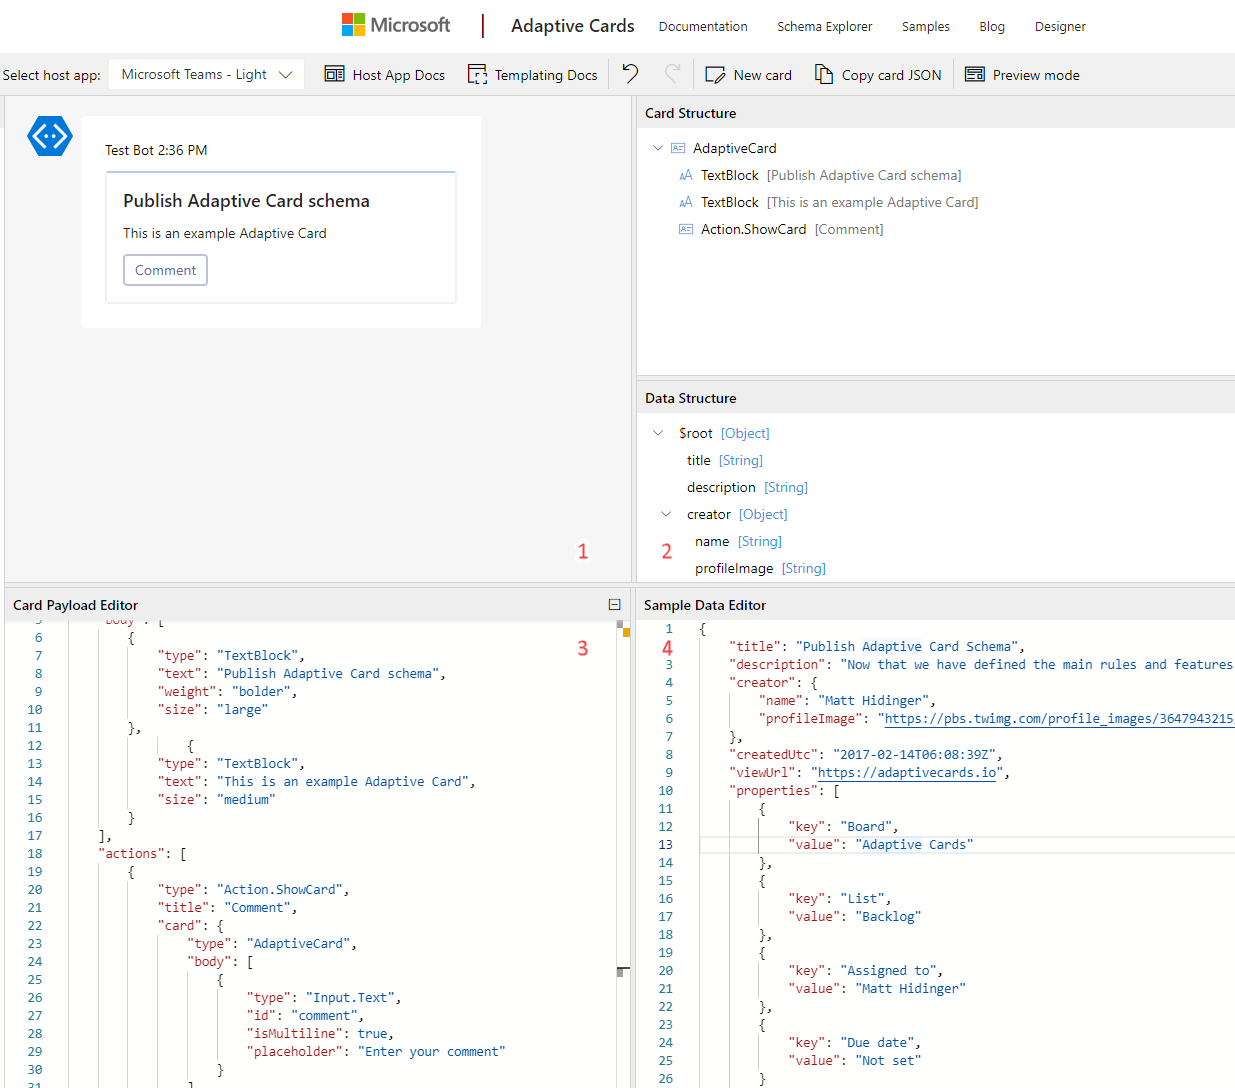
There are four main parts to the designer:
- Card preview – this shows how the card will look and behave in your application. You can also change the host application on the toolbar at the top. I have chosen a Teams light application
- Card structure and element properties – Allows you to view the structure of the card and make quick changes to each element without having to enter code
- Card payload editor – Text editor for the card. Personally, I use this part the most when making changes to the card, but it isn’t always essential
- Sample data editor – Useful for populating your card with example data. If you have some sample data that you will use with an adaptive card, it is a quick way to populate it from here to see what it would look like
I highly encourage you have a bit of a play with the designer now to see how adaptive cards come together.
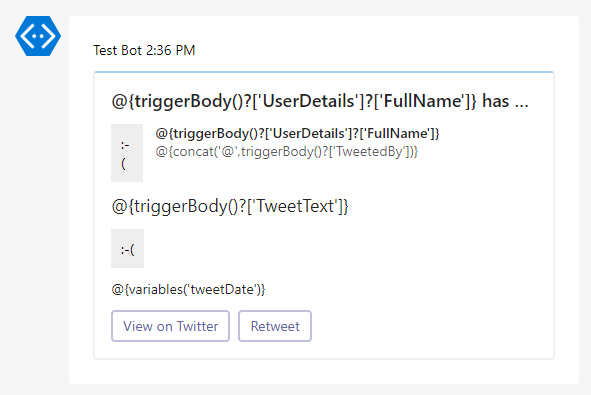
Once you have familiarised yourself with the designer, go ahead and paste in the following JSON as a base for our Adaptive Card:
At this stage, it doesn’t look particularly useful or readable – this is because most of the card is referencing values to a Flow/Power Automate we haven’t created yet. If you want to tweak any part of the card now, feel free to do so being careful to not remove any references to @{triggerBody()….}.
Working with Power Automate
Whilst there are other methods to post Adaptive Cards into Teams, Power Automate or Logic Apps is an easy method that anyone should be able to use.
Rather than just have you follow a long list of button clicks without learning much; I have included a pre-configured Flow package to import. The package can be found here.
From Power Automate, go to My Flows > Import and import the package .zip file. During creation, sign into your Twitter account and Teams

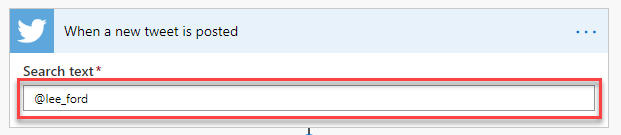
Once imported, go to the Flow and modify the “When a new tweet is posted” trigger criteria to an @mention or #hashtag that you want
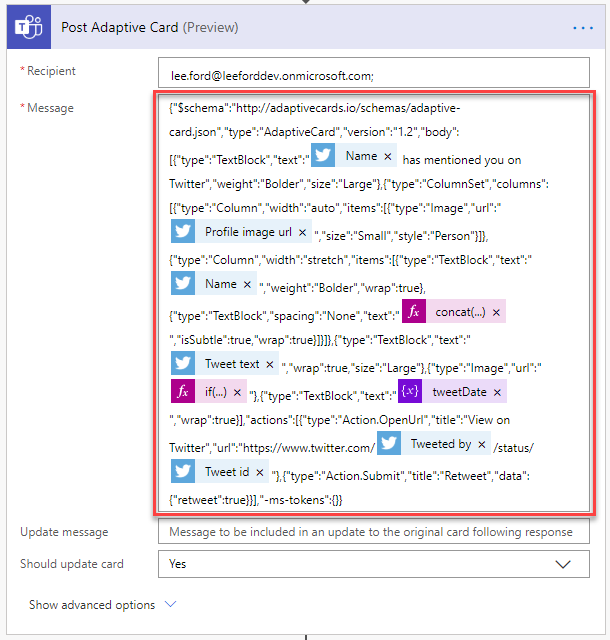
If you look at the Adaptive Card action of the Flow, you will see the JSON that I posted earlier but populated with values from the Flow. If you are like me, you may find it quite hard to parse
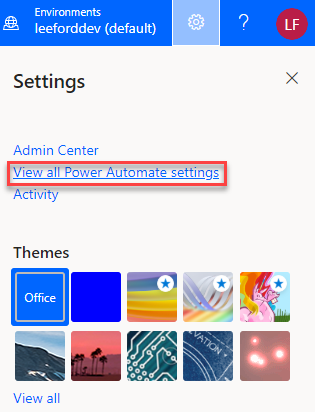
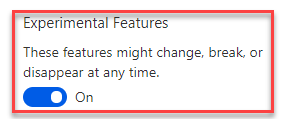
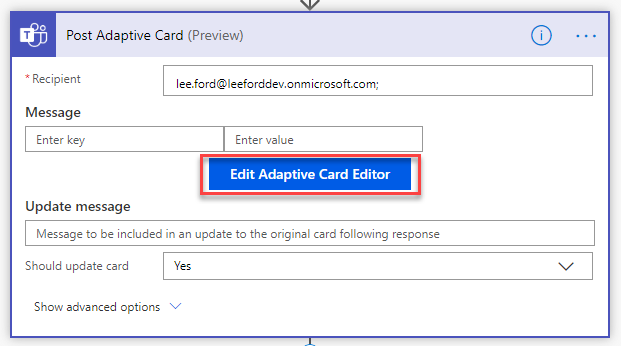
Fortunately, if you enable Experimental Features under the Power Automate settings, you get an Adaptive Cards editor:
If you open the editor, it should look very familiar to you (as it is essentially the Adaptive Cards designer). Rather than having to tweak your cards in the designer and copy/paste between Power Automate and the two, you can do it all in one place, just don’t forget to save!
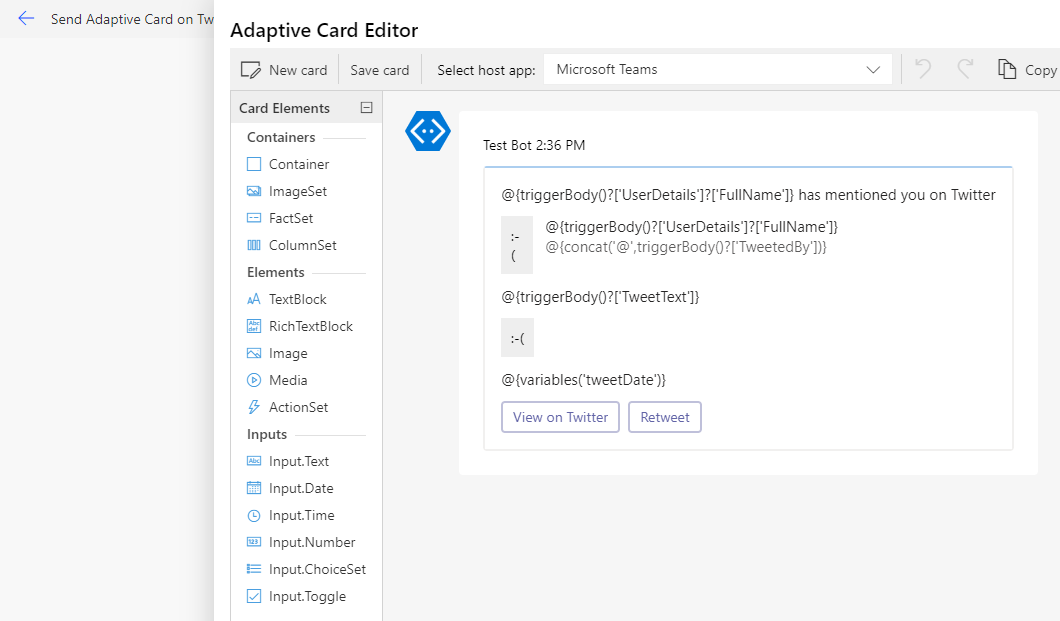
Note: If you tweaked your card earlier when you initially copied it into the designer, you can copy this straight into the editor.
Use the Adaptive Card
With the Flow created and setup, all that is left to do now is test. Once a tweet matches the criteria set in your Flow, it should post an Adaptive Card to the logged in Teams user. As it’s an adaptive card, the user in Teams can view the tweet on Twitter or just retweet the tweet from Teams (the Flow is waiting for an action before completing).
Feel free to use the example provided for your own projects and let me know what you use your Adaptive Cards for!