Logging with Skype for Business Cloud Connector Edition (CCE)
Introduction
Although Microsoft’s Cloud Connector Edition (CCE) is pitched as a ‘black box’ where you just need to follow the instructions to set it up and all is well, this is not always the case.
If you do have issues (as I have had on a few occasions), you will probably want to capture some logs to investigate. Whilst not exactly the same, it’s not too dissimilar to the CLS Logging on Skype for Business Server.
The cmd-lets involved are referenced here, but I will go into a little bit more detail. The following is correct as of CCE 2.0.0.
Step 1 - Start Logging
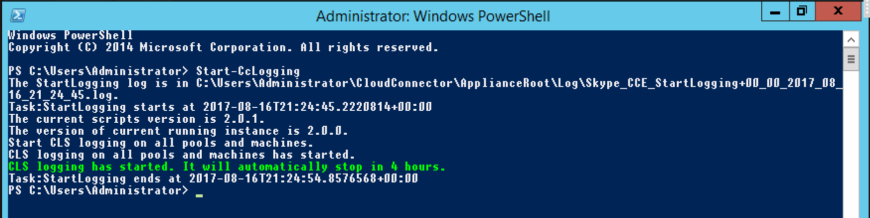
Open up PowerShell as Administrator on the CCE host (not on any of the Hyper-V VMs) and run Start-CcLogging. You should now get a PowerShell output stating that logging has started (and will stop after 4 hours if left running).
Step 2 - Reproduce Issue
Whilst the logging is running, reproduce the issue.
Step 3 - Stop Logging
Now in the PowerShell session, run Stop-CCLogging. This will stop the logging, but will not produce the log file yet.

Step 4 - Search Logs and Generate File
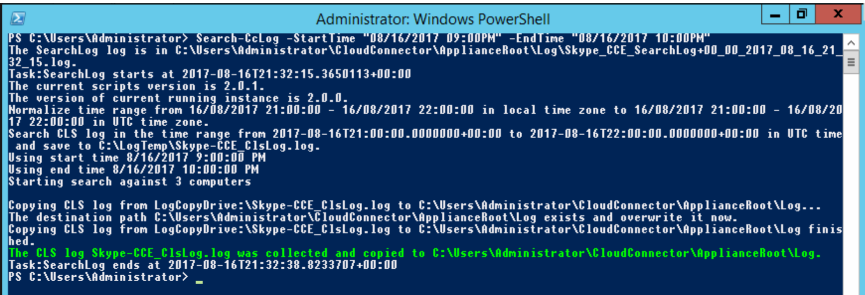
Much like in CLSLogger, you have to start and stop the logging, but to generate the log file, you need to ‘search’ through the logs. You do this using Search-CcLog and you need to specify a ‘StartTime’ and ‘EndTime’.
One thing to bear in mind here is the date and time format. Living outside of the US, the MM/DD/YYYY date format seems alien to me, but this needs to be used here. The time is also in 12 hour format, not 24 hour format. An example would be:
Search-CcLog -StartTime "08/16/2017 09:00PM" -EndTime "08/16/2017 09:00PM"
Step 5 - Open Log File
If Search-CcLog is successful a log file is generated under the folder Log in the ApplicationRoot folder (location is also outputted in green in PowerShell). This can then be opened in Snooper (part of Skype for Business Debugging Tools, but you already knew that!).