If you’re keeping count, this is the 3rd article on this topic. Previosuly, I have written about two other methods employed to deploying an AudioCodes SBC in Azure:
Whilst both worked, it still involved uploading an up-to-date copy of the SBC to Azure and a bit of patience.
I’ve had quite a few users reach out to me and ask where they can download the ‘Azure VHD’, but it was never released for download by AudioCodes. Instead, they have published the SBC to the Azure Marketplace. As long as you have access to create resources in Azure, you’re good to go.
Let’s begin!
Step 1 - Login to Azure Portal and locate AudioCodes Mediant SBC
Easiest method for this is to click Create a resource in the top left and search for AudioCodes Mediant. Select AudioCodes Mediant VE SBC for Microsoft Azure (rolls off the tongue).
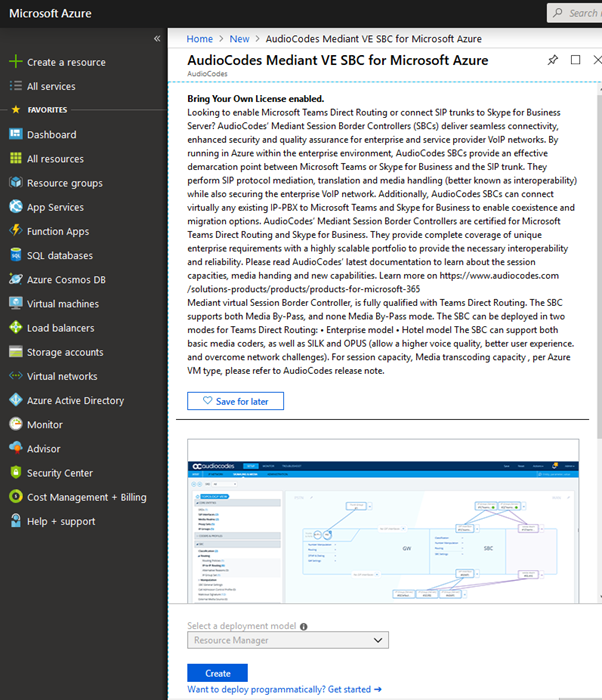
Search for AudioCodes Mediant
Step 2 - Specify Subscription, Resource Group, Region, Size and Authentication
You will need to specify a subscription and a resource group within that subscription. If you don’t have any, they will be created.
Next, you’ll need to give the VM a name and be asked to place it in a region (I’d recommend as close as possible).
If you are planning on deploying multiple SBCs in the same Azure tenant and region, you may want to setup an Availability Group (stops resources using same hardware).
For sizing, I went with an A2 v2, which should work fine up to 50 SBC sessions with no transcoding. If you are planning on going over that or plan to transcode, you may want to go for something beefier.
Lastly, you need to choose a username (cannot be admin or administrator) and password/SSH public key. In my scenario, I went SSH public key as I will be accessing over the internet and is that extra layer of protection.
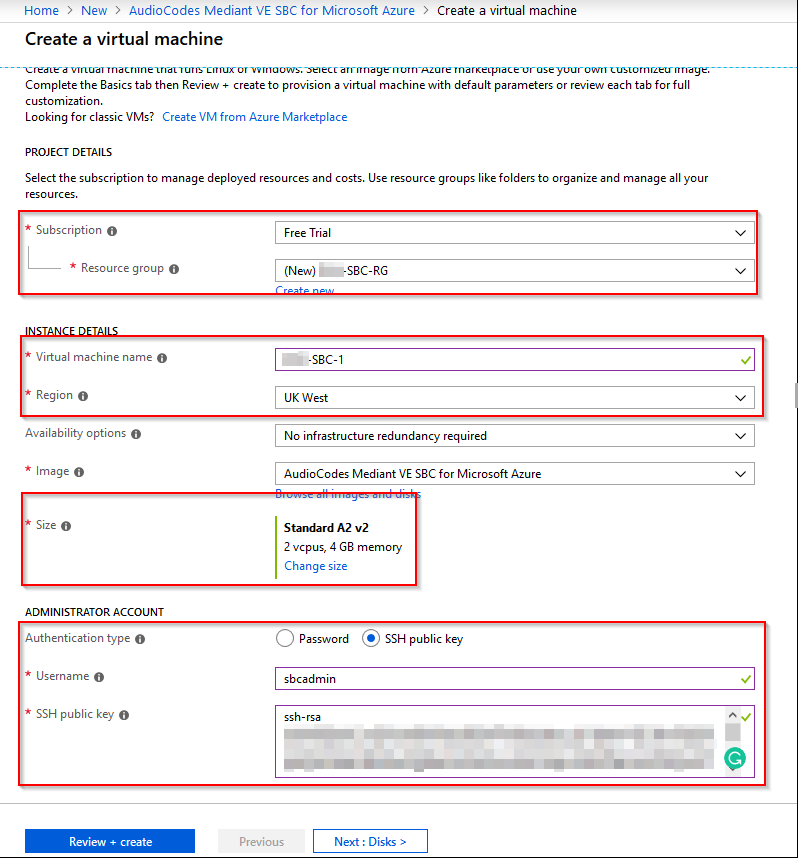 Once completed, click Review + create
Step 3 - Review further setup of VM
You will be asked a list of further questions (hardrive, networking, management etc.). I just skipped through without needing to make a change.
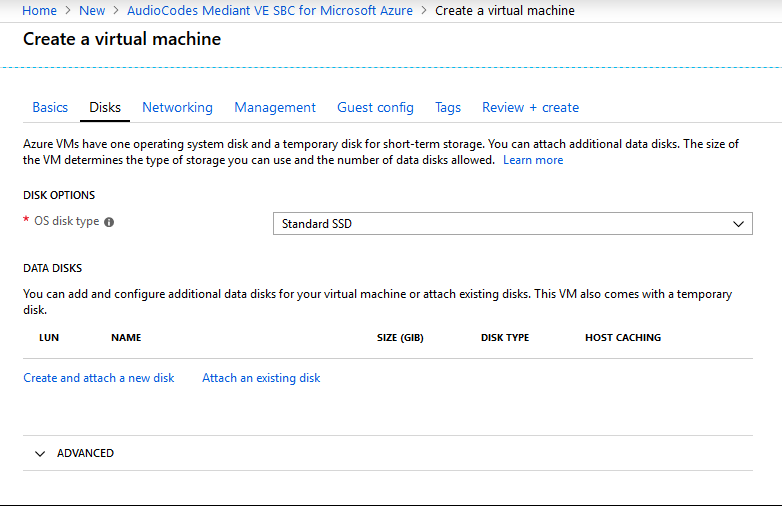 Standard SSD should suffice.
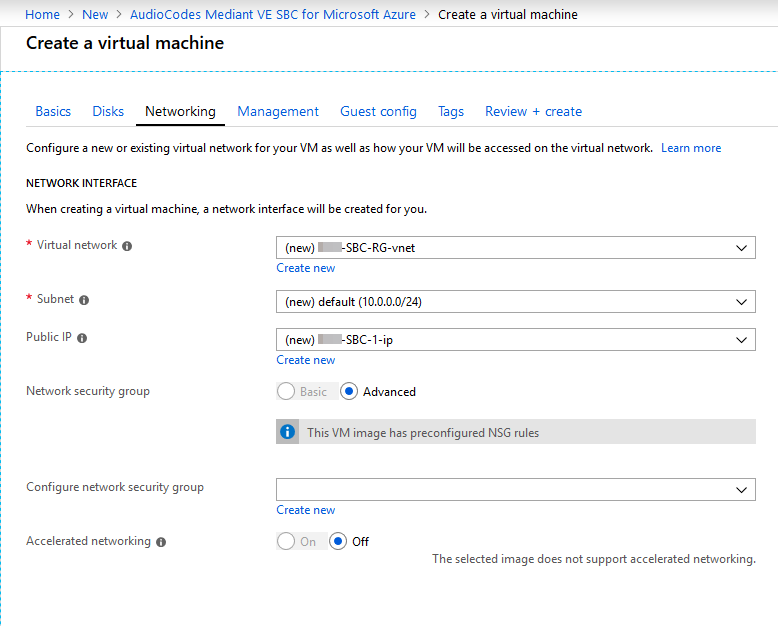 If you have existing networking to use, specify it here.
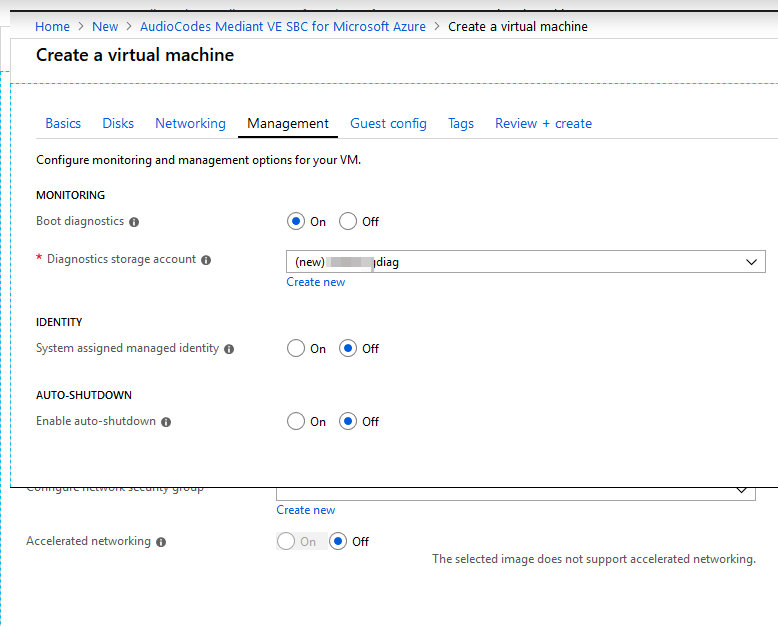 Good idea to enable boot diagnostics incase of a machine being unable to boot.
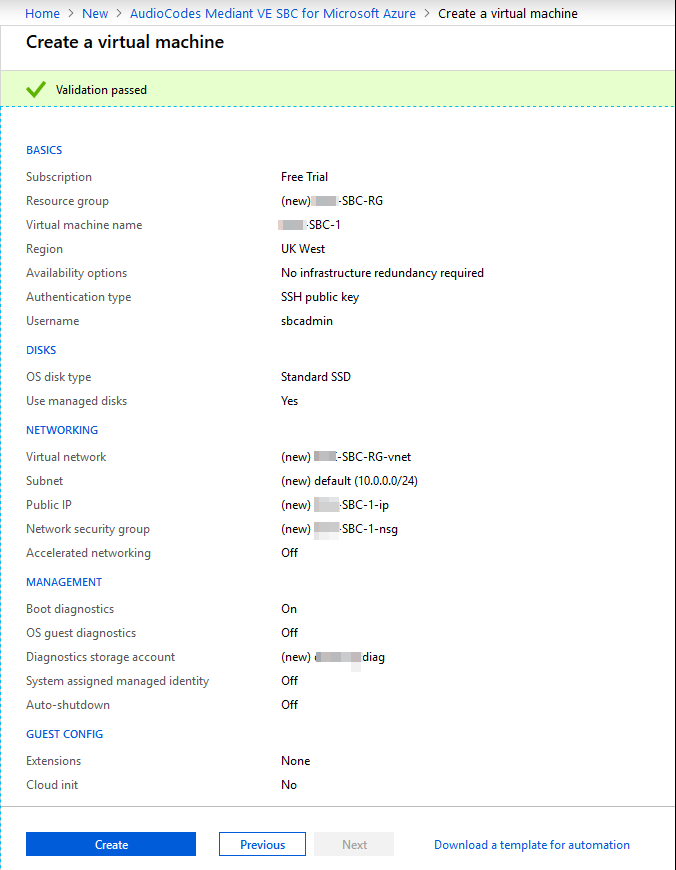
Step 4 - Review configuration and build VM
You should now be at the stage to build the VM. Review the configuration, then click Create if happy.
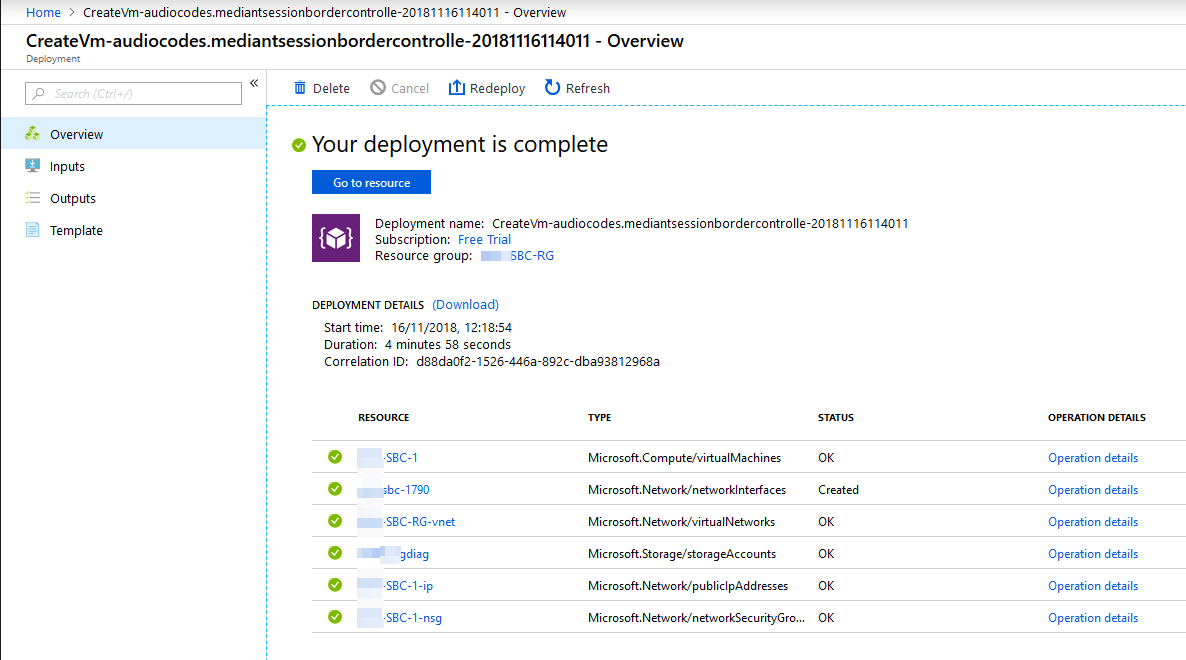 Built in less than 5 minutes!
Step 5 - Ensure you have access to SBC
Once built you should be provided with a public IP address. From there you can access via HTTPS and SSH using the account specified under Step 2.
Note: If you selected SSH public key, the password for the web portal of the SBC will be the same as the username - so change it ASAP!
Once you have access, I would strongly think about locking down HTTPS and SSH access in the NSG to your own IP address ranges.
Hopefully, you managed to follow this guide. In my opinion, this is by far the easiest way to deploy an AudioCodes SBC in Azure!
If you are looking to deploy Teams Direct Routing, follow on to Part 2 of my Teams Direct Routing Azure Guide.