Whilst this article is still very much a valid approach, Microsoft have started work on a PowerShell SDK for Graph API - find out more here: https://www.lee-ford.co.uk/graph-api-powershell-sdk/
What is Graph?
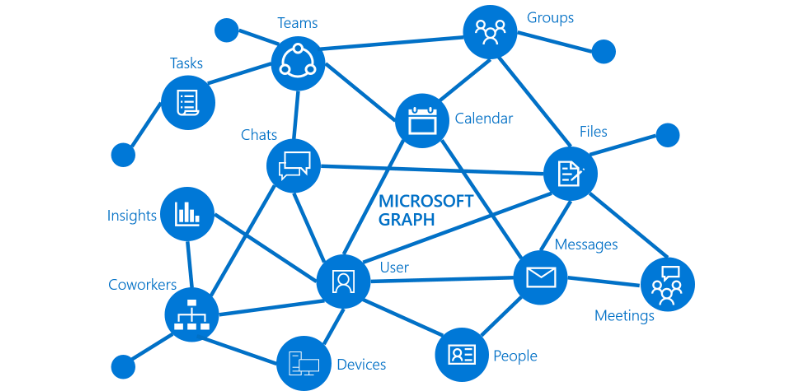
Graph is Microsoft’s API for Microsoft 365. By creating an Azure AD application it allows you to interface directly with Azure AD, Office 365, EMS etc using Graph API.
The API not only allows you to access data from Microsoft 365 but also modify and delete it.
How to do I use Graph API?
By using an Azure AD application, you can send queries to the API using HTTP requests to https://graph.microsoft.com. An example could be - a ‘POST’ to https://graph.microsoft.com/v1.0/me - this would return the user details of the user making the request.
Whilst there is a lot of languages that cover how to user Graph API - https://developer.microsoft.com/en-us/graph/get-started - PowerShell, ironically, is not one of them!
Let’s begin
I’ll now cover off the process of creating an Azure AD application, assigning permissions, authenticating with Graph using OAuth tokens and running a query (in PowerShell).
Create an Azure AD Application
Before you can make a request you need to create an Azure AD application. The application is used as a conduit to access the data in Graph.
Note: You can access other Microsoft services other than Graph using Azure AD applications.
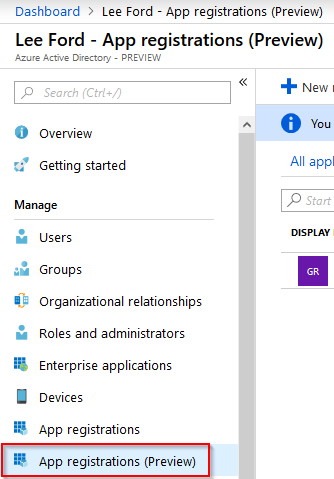
To create an Azure AD application login to https://portal.azure.com and navigate to Azure Active Directory. From here, select App registrations.
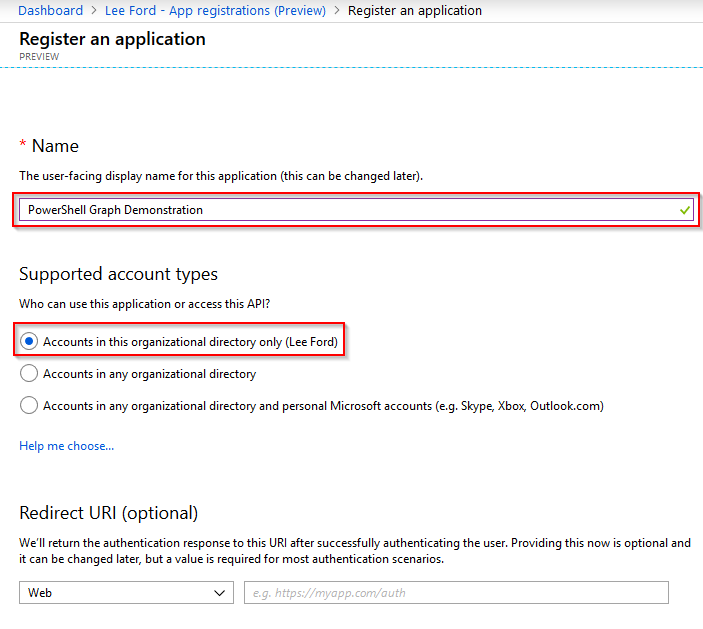
Select New registration and give your application a Name and Supported account type. In my case, I only want to allow accounts from my Azure AD to authenticate using the application. Leave Redirect URI blank (for now) and select Register.
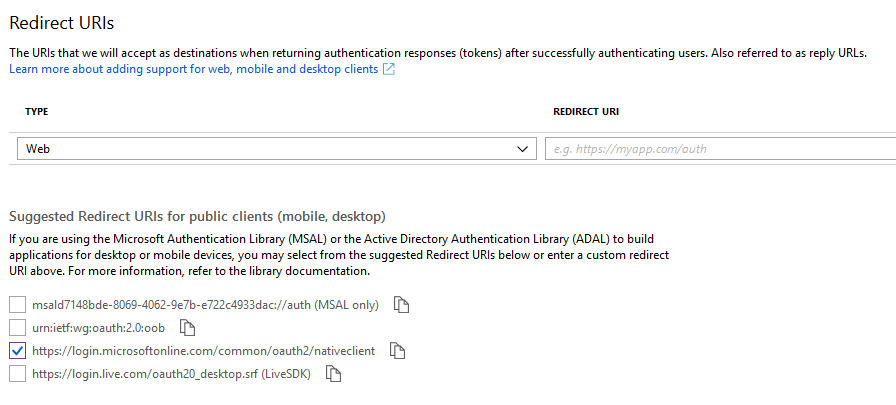
The application will now get created. Make a note of the Application (client) ID and Directory (tenant) ID as these will be needed later. Next, you need to specify a Redirect URI to use for the application. Select Add a Redirect URI from the application page.

I’ve tended to select https://login.microsoftonline.com/common/oauth2/nativeclient as the Redirect URI, but any can be used I believe. Whatever you use, make a note of it for later.
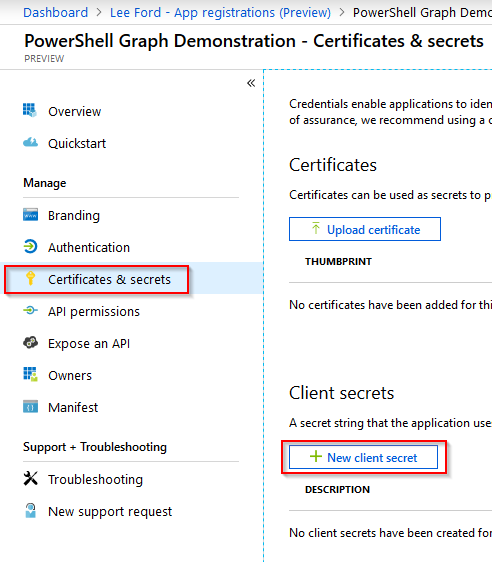
The next step is to create an application secret. The secret is used when authenticating - it is similar to a password. From within the application page, select Certificates and secrets and select New client secret.
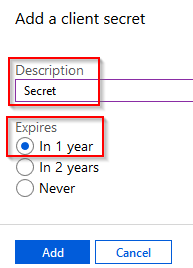
Give the secret a **Description **and set an **Expiry **on the secret.
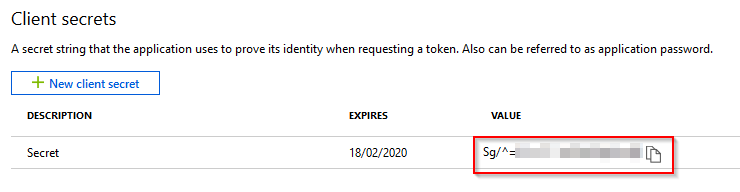
IMPORTANT: Copy the secret and put it somewhere secure, as once you click away, it will be hashed out and you’ll need new one.
This application will now need permissions assigned to it.
There are two types of permissions you can use (and I will demonstrate both later in the post):
1. Delegated (User) Permissions
These permissions are granted when making requests to the API based on a user being authenticated. This works well for user-facing applications, but not for scripts or unattended applications.
Note: You do not assign these permissions to a specific user, any user wishing to use these permissions will need to be granted consent by an administrator.
2. Application Permissions
Here you can assign the application itself permissions. The benefit of this is it allows the application to access the API without a user being logged in - useful for a script, for example. Instead of a username and password to authenticate, a secret or certificate is used.
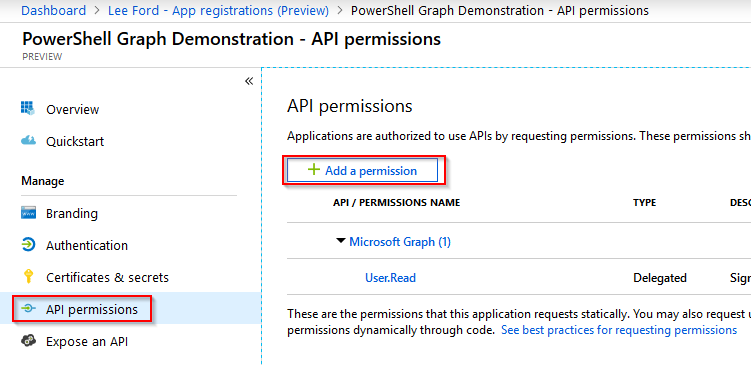
Under the application, select API permissions and then select Add a permission.
There are many types of permissions that can be assigned, if you are unsure what you require, I would recommend looking at the Graph reference - https://docs.microsoft.com/en-us/graph/api/overview?toc=./ref/toc.json&view=graph-rest-1.0. Each query will list the permissions required.
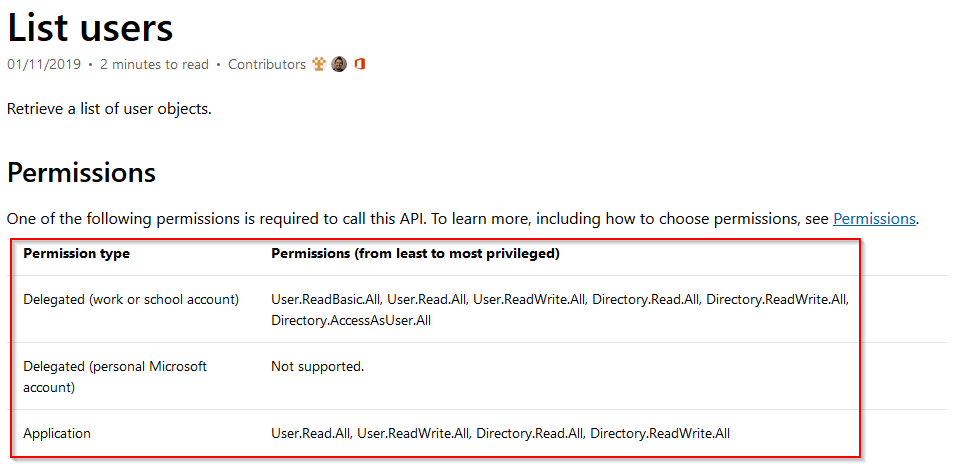
For this post, I’ve select Microsoft Graph and assigned the following permissions to both Delegated (User) and Application.
- Group.Read.All
- Group.ReadWrite.All
- User.Read (only for delegated as there is no signed-in user for applications)
- User.Read.All

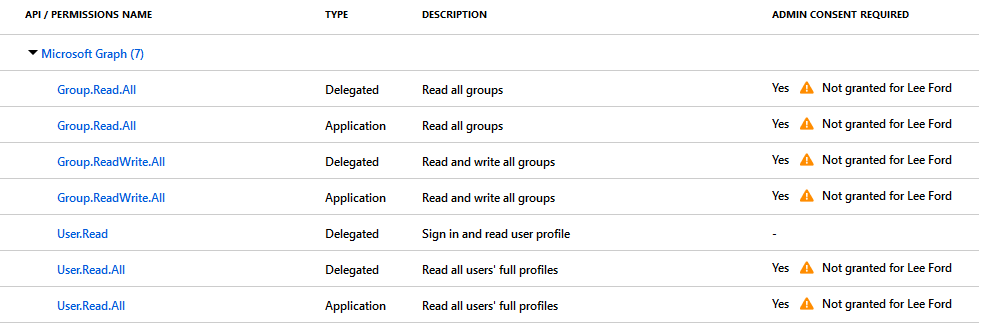
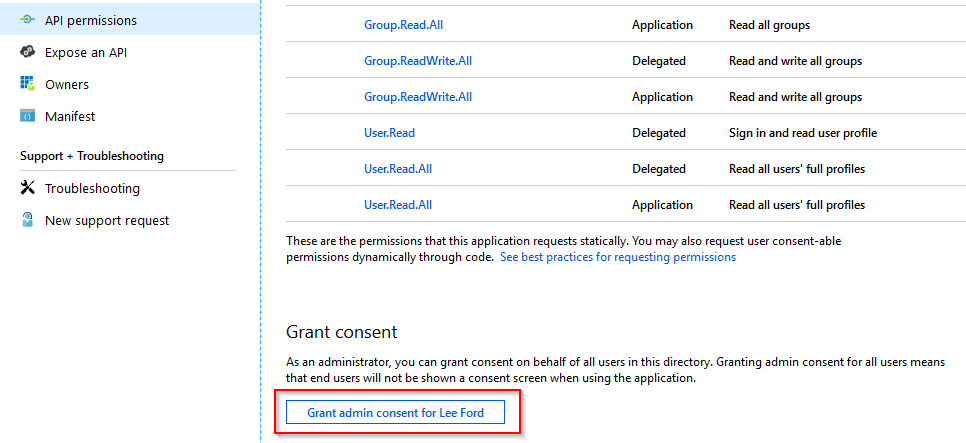
You may have noticed these permissions have not been consented by an Admin. Without consent by an Admin these permissions will not be granted and the Graph requests will fail. To grant consent there are two methods:
- Grant consent in the Azure AD application API permissions area - if you are using application permissions this is the only method. If permissions are granted for users using this method, all users are granted permissions!
- Have users ask for consent - if you are going to use delegated (user) permissions, if not already granted consent the signed-in user is prompted to ask for consent from an admin.
Both scenarios will work, but if developing an application where users sign-in, I would strongly recommend the latter approach.
In this scenario, as I will be demonstrating both permission types, I’ve gone with the first method and granted consent from within Azure AD.
With permissions assigned you can now use this application with the Graph API.
Authenticating with Azure AD Explained
I want to explain the basic authentication flow that will take place in the code. Authentication is done using OAuth 2.0 requests, so if you are familiar, this is nothing new. The flow is different depending on if you are using application or delegated permissions.
Delegated (User) Permissions Authentication Flow
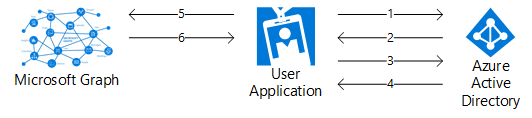
- User is directed to Azure AD (https://login.microsoftonline.com/tenantid/oauth2/v2.0/) to sign-in with their credentials.
- Once signed in, if permission has been granted to the user for the Azure AD application, the application will be issued an authentication code.
- With the authentication code, a second request is made to Azure AD (https://login.microsoftonline.com/tenantid/oauth2/v2.0/token) to request an OAuth token.
- If the request is successful, an OAuth token is issued to the application.
- With the OAuth token, a request can now be made to Graph API.
- Graph API will verify the token and issue a response.
Application Permissions Authentication Flow
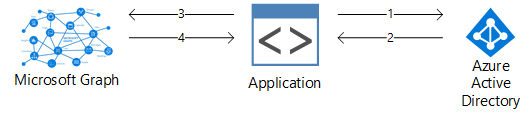
- With the application ID and secret, a request is made to Azure AD (https://login.microsoftonline.com/tenantid/oauth2/v2.0/token) to request an OAuth token.
- If the request is successful, an OAuth token is issued to the application.
- With the OAuth token, a request can now be made to Graph API.
- Graph API will verify the token and issue a response.
Without further ado, on to the code!
Authenticate with Azure AD using PowerShell
Here are the two different methods dependant on what type of permissions you want to use. I won’t delve into the nitty-gritty of each script, but the comments should explain it enough.
Delegated (User) Permissions Authentication with PowerShell
Note: The below script will only work with Windows PowerShell and not Core as it requires WPF. If you plan to use Core, consider using device code login, which is detailed in a separate post: https://www.lee-ford.co.uk/graph-api-device-code/
Application Permissions Authentication with PowerShell
Either script will return the access token (as $token) you will need to include with your Graph queries. Don’t forget to change the client ID, tenant ID and secret to your own.
Note: This is the bare minimum required, if you are going to use in production, you may want to add some extra validation steps and error handling.
Make a Graph API query using PowerShell
With the token obtained already, all that is left to do is make a query. In this example, I will list all users by querying ‘GET’ https://graph.microsoft.com/v1.0/users
The reponse to the query will be stored in $query.
Wrap Up
I hope this has been of some help to you. This should allow you to authenticate and query Graph API using PowerShell as a user or an application.
All and any feedback welcome.